Looking for a relaxing, rejuvenating experience? A good sauna session offers the perfect escape with its soothing warmth and calming solitude. While saunas are a long-standing tradition in Nordic countries like Finland, DIY sauna kits are becoming increasingly popular worldwide due to their amazing health benefits.
If you’ve been dreaming of creating your own sauna at home, it’s entirely possible with the right guide. Here’s a step-by-step approach to building your own DIY sauna and enjoying the wellness benefits from the comfort of your home.
1. Choose the Perfect Location
The first step in building a home sauna is choosing the right location. If you’re installing a dry sauna, you won’t need running water or worry about plumbing, but you will need a power source for the lights and heater.
For an outdoor sauna, try to find a spot near your home’s main structure. It’s crucial to consult with a professional electrician for the electrical setup, as most saunas require 220V power.
You’ll need at least a 4-by-4-foot space for the sauna itself, plus room for the door and electrical wiring. A ceiling height of at least seven feet is ideal, and make sure the ground is level. For a traditional Finnish experience, place the sauna near a shower, so you can easily rinse off after each session.
2. Select the Right Building Materials
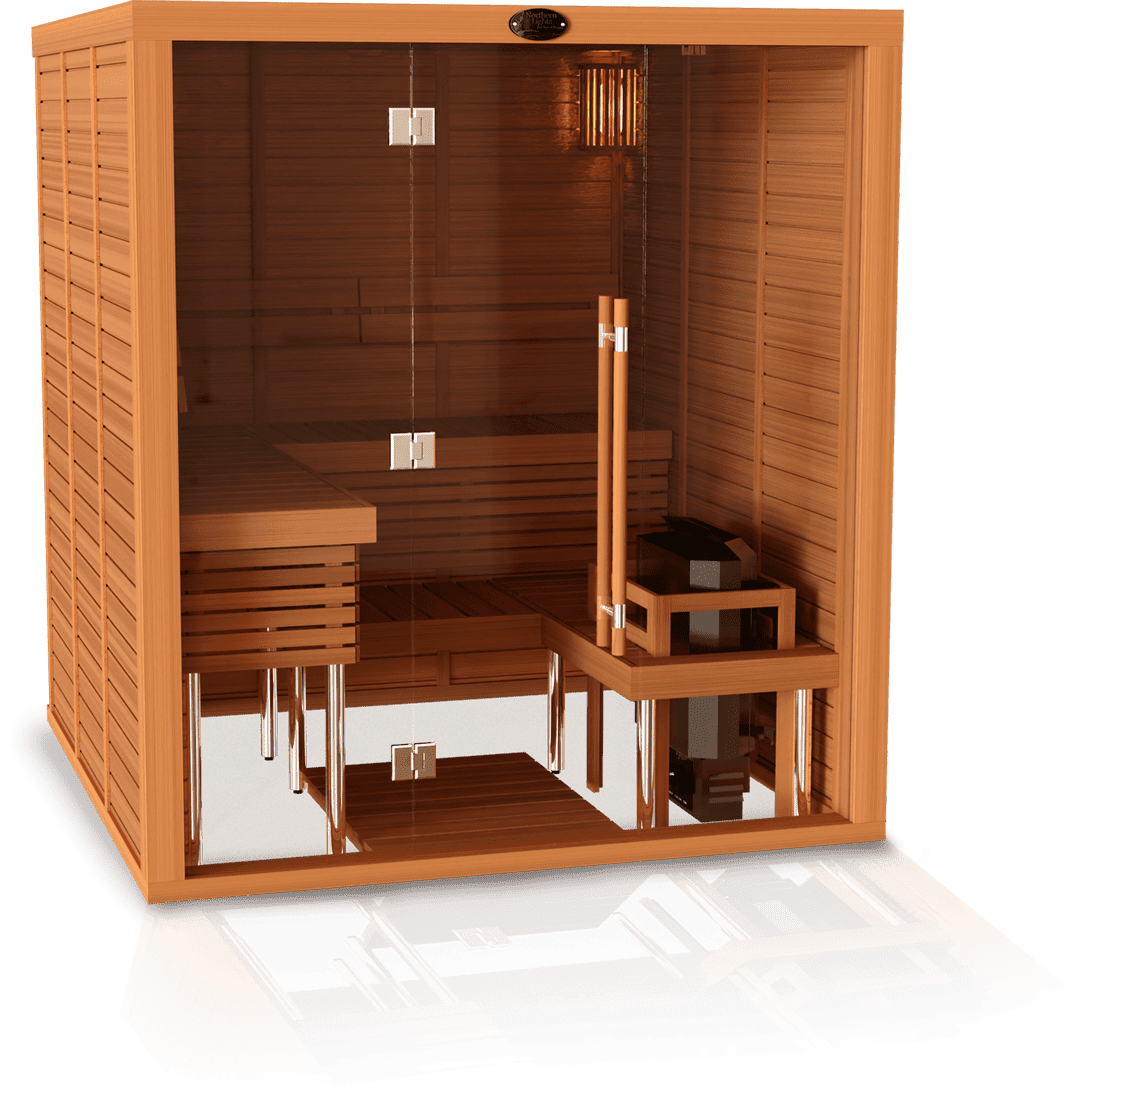
Your sauna’s foundation is key to its longevity and comfort, so it’s essential to choose the best materials. Cedarwood is widely regarded as the gold standard for sauna construction. It’s resistant to decay, has great moisture-handling properties, and offers a pleasant aroma. While cedar can be more expensive than other woods, its durability and aesthetic appeal make it well worth the investment.
3. Pick the Best Heat Source
When building your sauna, the heat source is a crucial decision. You generally have three options:
- Infrared heaters: Modern and convenient, infrared heaters provide a deep, comforting warmth.
- Electric heaters: Easy to use and maintain, electric heaters are simple to install and provide reliable heat.
- Wood-burning stoves: For a traditional sauna experience, a wood-burning stove is ideal. The crackling fire and natural scent of burning wood create an authentic sauna atmosphere that can’t be replicated.
Each option has its benefits, so choose the one that fits your needs and desired sauna experience.
4. Plan the Interior Finish
Your sauna’s interior finish adds to the overall experience. For paneling, cedar is a top choice due to its fragrance and availability. Western red cedar is especially popular for its mild aroma and excellent moisture resistance.
5. Add the Final Touches
Once the core components of your sauna are in place, it’s time to add the finishing touches. Proper insulation is key to retaining heat and maintaining a comfortable environment. Install benches, allowing about two feet of bench space per person to ensure there’s enough room to stretch out and relax.
Conclusion
Building your own sauna may seem daunting, but with DIY sauna kits and careful planning, it’s entirely achievable. Northern Lights Cedar Barrel Saunas offer top-quality DIY kits that make this project easier than you might think.
By taking the time to create your own sauna, you’re investing in a personal wellness retreat that your body and mind will thank you for—right from the comfort of your home.

- Indoor Sauna Kits
- Indoor Sauna Kits
- Barrel Sauna Kits
- Barrel Saunas
- Barrel Saunas
- Cedar Barrel Saunas
- DIY sauna kits
- DIY Sauna Kits
- DIY Sauna Kits
- home sauna
- Home Sauna
- Home Saunas
- Home Saunas
- Indoor saunas
- Indoor saunas
- Outdoor Barrel Sauna
- Outdoor Barrel Sauna
- outdoor sauna
- Outdoor Saunas
- Sauna Cleaner
- sauna heaters
- Sauna Heaters
- Sauna Material
- Sauna Material
- sauna room